The Inspiration
You may have seen it in my recent Instagram posts: I went on a van trip for a little while last April.
Naturally, as a good knitter, I brought along a stash worthy of three months of production (not to mention the beautiful yarns I picked up along the way).
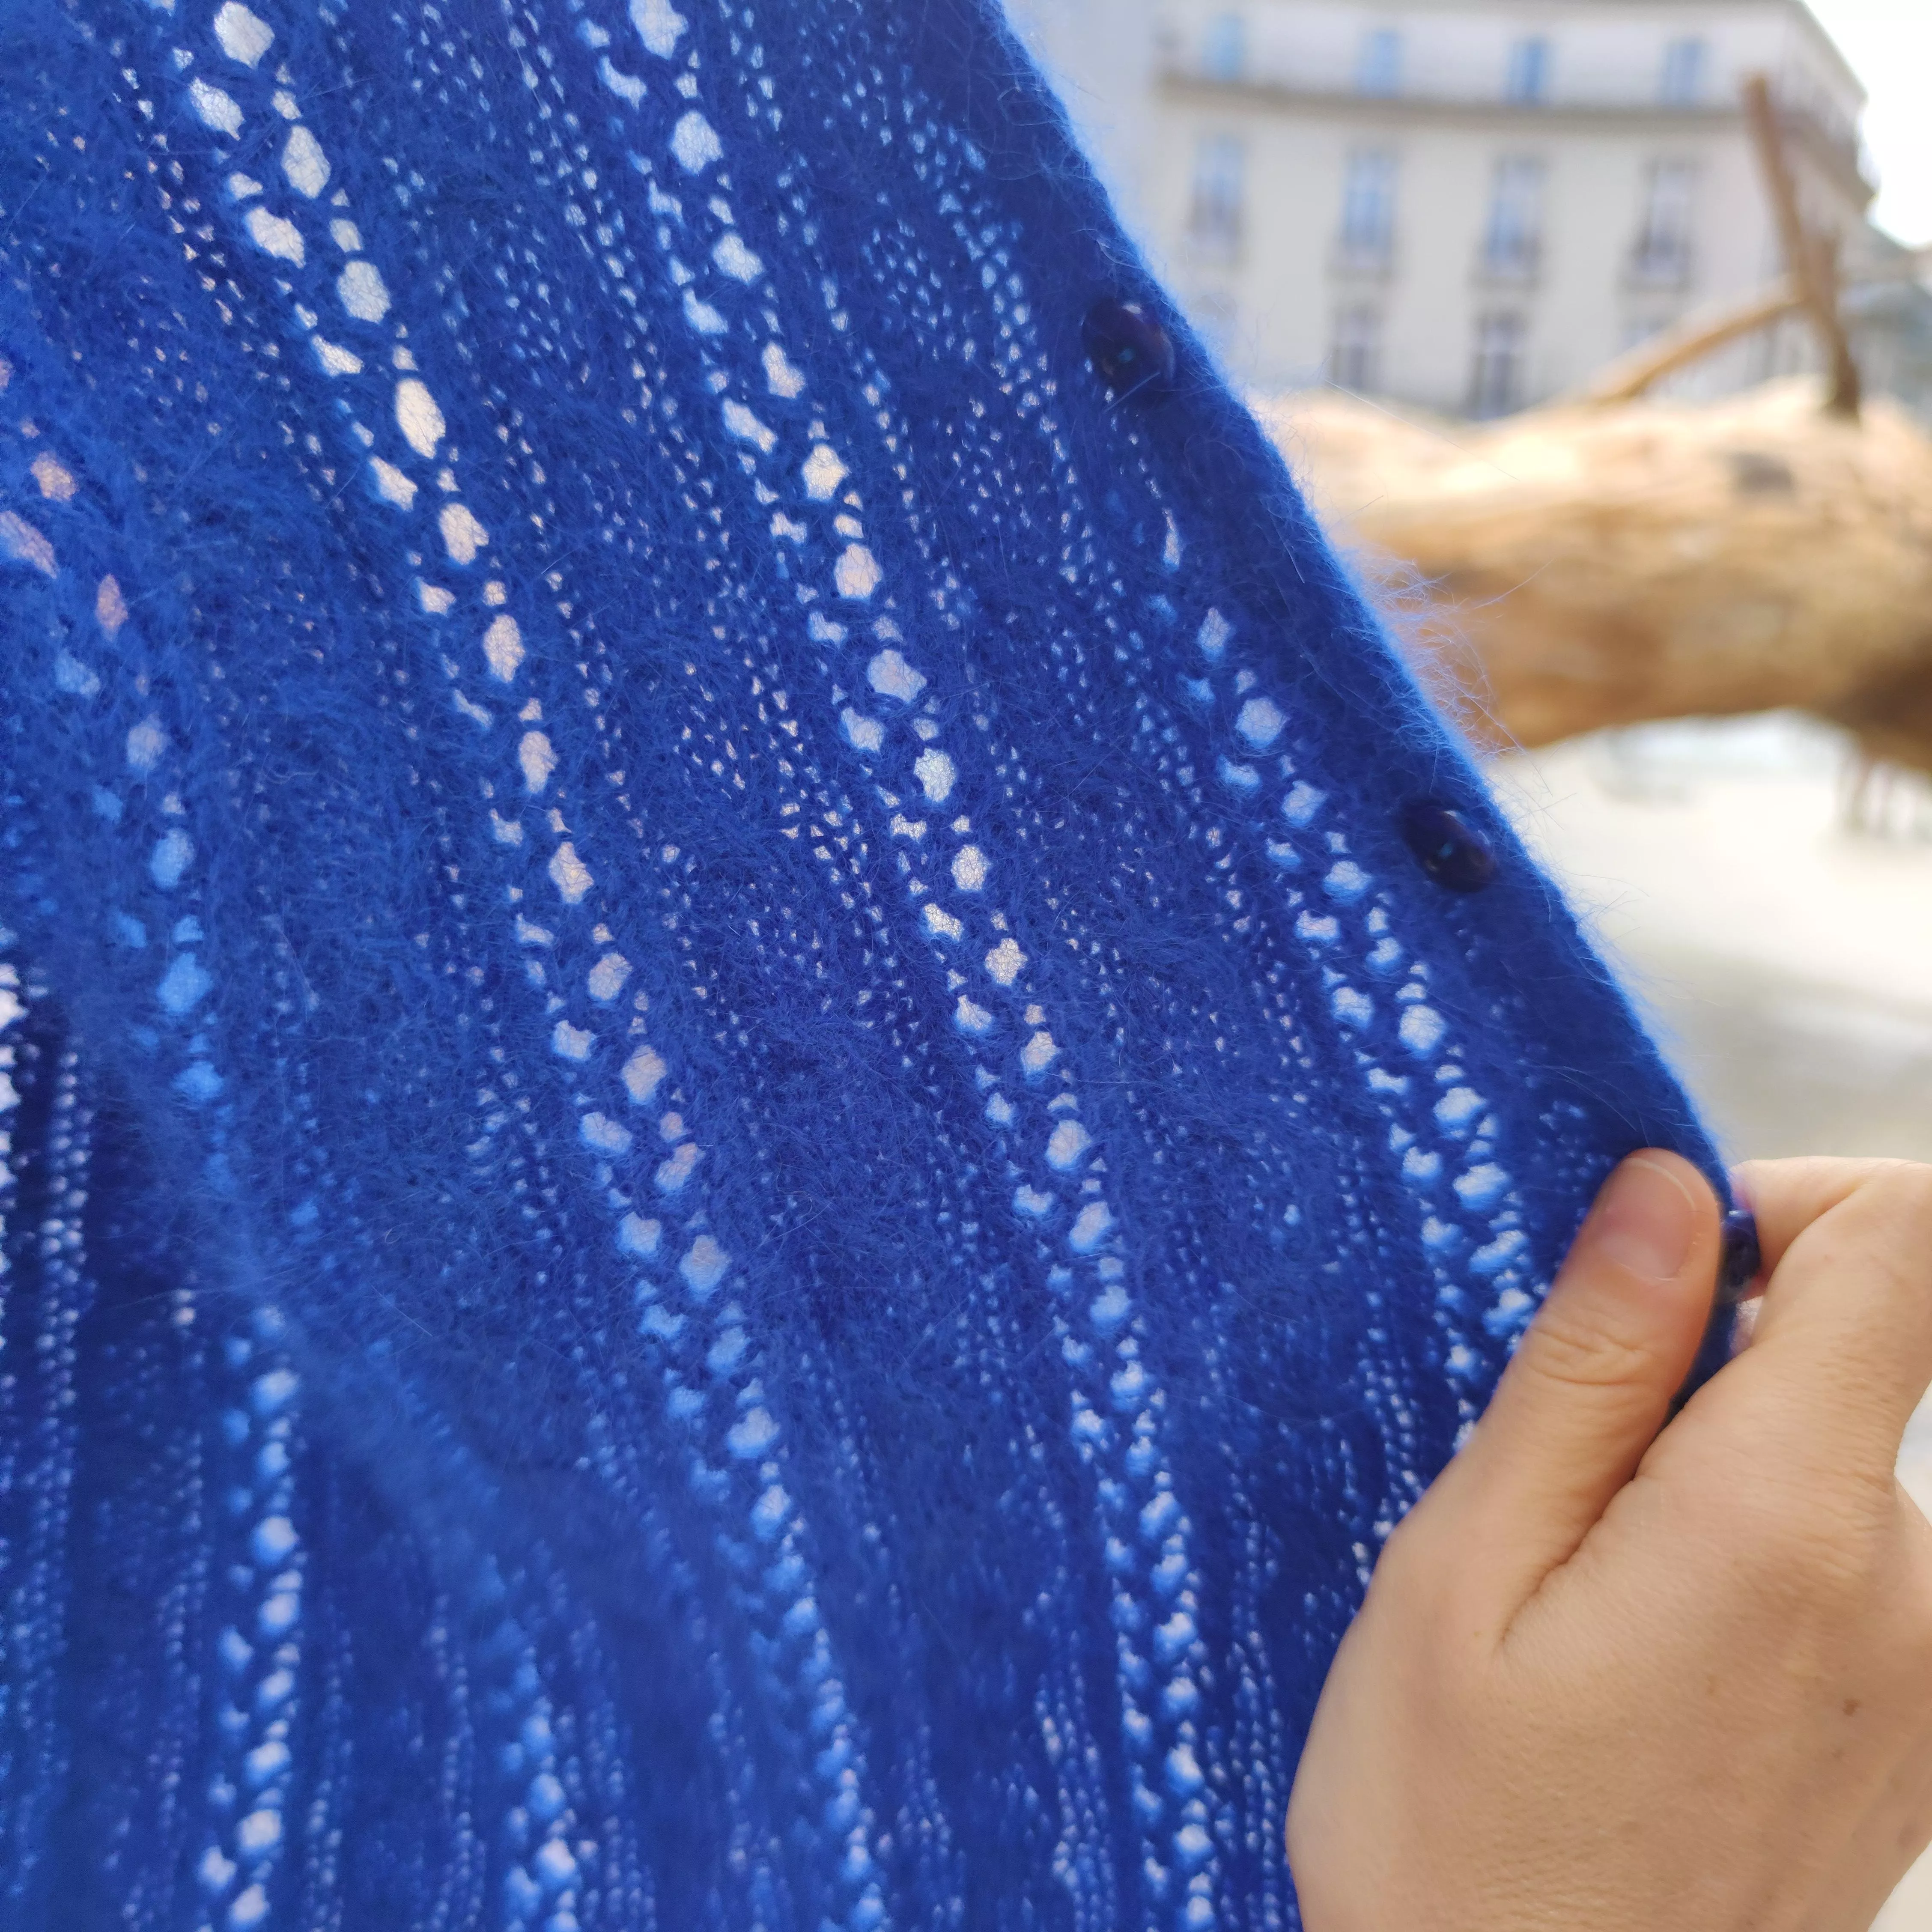
I specifically packed the eight skeins of that gorgeous electric blue angora I bought on sale at Happywool before I left. I didn’t really have a project in mind, except that I wanted to create an openwork cardigan to get ready for those cool summer evenings.
While passing through Nancy, inspiration struck! I visited the stunning Villa Majorelle, the house of the famous creator from the Nancy School. The Art Nouveau patterns and the interlaced designs on the stained glass windows inspired me to create a pattern combining cables and openwork stitches.
That was the start of the adventure: we were setting off to make a V-neck raglan cardigan knitted all in one piece!
The Pattern
The model is knitted flat from top to bottom for the front, back, and sleeves. The collar and button band are picked up along the body stitches in double stockinette stitch.
Material: 1090 meters or 1192 yards of angora. For substitution, I recommend choosing a main "soft" material such as mohair or brushed alpaca silk.
Needles: Circular and double-pointed needles 3.5mm/US4 and 3mm/US2 or equivalents to achieve the correct gauge.
Gauge 10X10 cm or 4x4 in: 28 stitches X 32 rows made by knitting twice the A pattern.
Finished Size: see pdf.
Abbreviations : see pdf.
The Instructions
Don't forget, if you're having difficulties, the sample is available as a video tutorial on my YouTube channel Terrifiknits :
RAGLAN INCREASES:
- On the right: 1 stitch before the marker, make a yarn over, knit the next stitch
- On the left: 1 stitch after the marker, knit 1 stitch, make a yarn over, continue according to the pattern.
THE BODY:
• Cast on 74 stitches with 3.5mm/US4 circular needle.
• Place 4 markers distributed as follows: • 1 edge stitch (knit in both directions),
• 3 stitches (right front),
• marker,
• 14 stitches (right sleeve),
• marker,
• 38 stitches (back),
• marker,
• 14 stitches (left sleeve),
• marker,
• 3 stitches (left front),
• 1 edge stitch.
• Continue following the pattern:
• 1 edge stitch,
• pattern B for the right front,
• marker,
• pattern C for the right sleeve,
• marker,
• pattern D for the back,
• marker,
• pattern E for the left sleeve,
• marker,
• pattern F for the left front,
• 1 edge stitch.
• Continue this way for 78 rows:
• Making a raglan increase for the sleeves on each side of each of the 4 markers every 2 rows 39 times
• Making an increase for the fronts before each edge stitch every 4 rows 18 times, then every 2 rows 3 times.
• On the 79th row, you have:
• 1 edge stitch
• 63 stitches (right front),
• marker,
• 92 stitches (right sleeve),
• marker,
• 116 stitches (back),
• marker,
• 92 stitches (left sleeve),
• marker,
• 63 stitches (left front),
• 1 edge stitch.
• Thus:
• 1 edge stitch,
• 4 repetitions of pattern A + half of a pattern A for the right front,
• marker,
• 6 repetitions of pattern A + 8 stitches for the right sleeve,
• marker,
• 6 repetitions of pattern A + 4 stitches for the back,
• marker,
• 6 repetitions of pattern A + 8 stitches for the left sleeve,
• marker,
• 4 repetitions of pattern A + half of a pattern A for the left front,
• marker,
• 1 edge stitch
• On the next row, separate the sleeves and the body.
THE SLEEVES:
• Pick up the 92 stitches of the right sleeve with 3.5mm/US4 circular needle.
• Cast on 6 stitches before joining the round to make 7 complete pattern A repeats.
• Continue this way until the sleeve measures 38cm/15in from the underarm.
• Switch to 3mm/US2 double-pointed needles and work 5cm/2in in 1/1 rib.
• Bind off all stitches loosely.
• Work the other sleeve in the same way.
THE BODY:
• Start by knitting the edge stitch, the 63 stitches of the right front, pick up 3 stitches from the underarm, continue with the 116 stitches of the back, pick up 3 stitches from the underarm, and finish with 63 stitches of the left front and the edge stitch with the 3.5mm/US4 circular needle.
• You have thus 17 complete pattern A repeats and the first 10 stitches of a pattern + 2 edge stitches = 250 stitches
• Continue this way until the body measures 24cm/9.5in from the underarm.
• Switch to 3mm/US2 double-pointed needles and work 5cm/2in in 1/1 rib.
• Bind off all stitches loosely.
THE COLLAR:
• Pick up 312 stitches along the collar of the cardigan:
• 73 stitches on the sides, including 16 for the ribbing
• 70 stitches for each side of the V-neck
• 26 stitches for the back
• Work the collar and button band in double stockinette stitch with 3mm/US2 double-pointed needles
• Cast on 8 stitches and knit them in double stockinette stitch (knit one stitch, slip one stitch, etc.). Knit the 4th stitch with a picked-up stitch from the body.
• Continue this way until all 312 picked-up stitches have been knitted, REMEMBERING to make buttonholes on one side at regular intervals.
• Bind off.
FINISHING:
• Weave in the ends and block.
And there you have it, a beautiful homemade openwork cardigan!
Perfect for getting started with creating fancy patterns!
Don't forget to tag me on Instagram, Facebook, or TikTok with the hashtags #terrifiknits and #ToscanaCardigan or #giletToscana once you're done, or add this project to your Ravelry list! I can't wait to see your version!
What You'll Need:
Knitting pattern: download the instructions by clicking on the button bellow
Toscana cardigan Terrifiknits (PDF, 1.19 MB)
All my patterns are available for free.
So dont forget to show your support by subscribing to any of my social medias !
You'll help increase the visibility of my work...
You're document will be available in
Your file is availableDownload
Yarn used: Phil Pur Angora, Color: Periwinkle, Happywool
https://www.happywool.com/p/phil-pur-angora-p-25935.html#skuId:237141


There is no comment yet.
Add a comment